When it comes to making knives and other objects from a variety of materials and assemblies, you can often get by with what you can afford, to start with. As you progress, the difficulty (in my opinion) lies in choosing what should remain manual and what merits investment, a machine with a motor, for example.
Mind you, I’m not saying that hand tools are always cheap! This lovely Canadian plane can testify to that.
In all cases, I would advise :
- if you have to choose, prefer a good hand tool to a cheap machine.
- not to anticipate your needs, to do things by hand until it becomes obvious that a machine would change your life. Especially if you don’t have the space or the budget.
- wait until you have the budget for a “serious” machine. There are always at least two ranges to choose from, and it’s fair to say that with a low-end machine, you’ll often have regrets. There’s no secret about it: in this field, “low price” generally rhymes with technical concessions and/or poor design.
It’s not easy to find references for honest, unsponsored tools, so here - with no pretensions - is what makes up my workshop.
Band saw
Here’s a life-changing tool when you’re using wood from the garden (or elsewhere) that you want to turn into blocks, then eventually into plates for knife handles.
The more expensive and robust it is, the thicker you can cut. It’s always possible to prepare your wood with an axe before sawing, even if you generally lose some material.
For my part, I’ve chosen an English bandsaw of modest dimensions (120 mm maximum height), which I’d describe as “early mid-range”: BS 250 EP RECORD (ordered from Bordet).
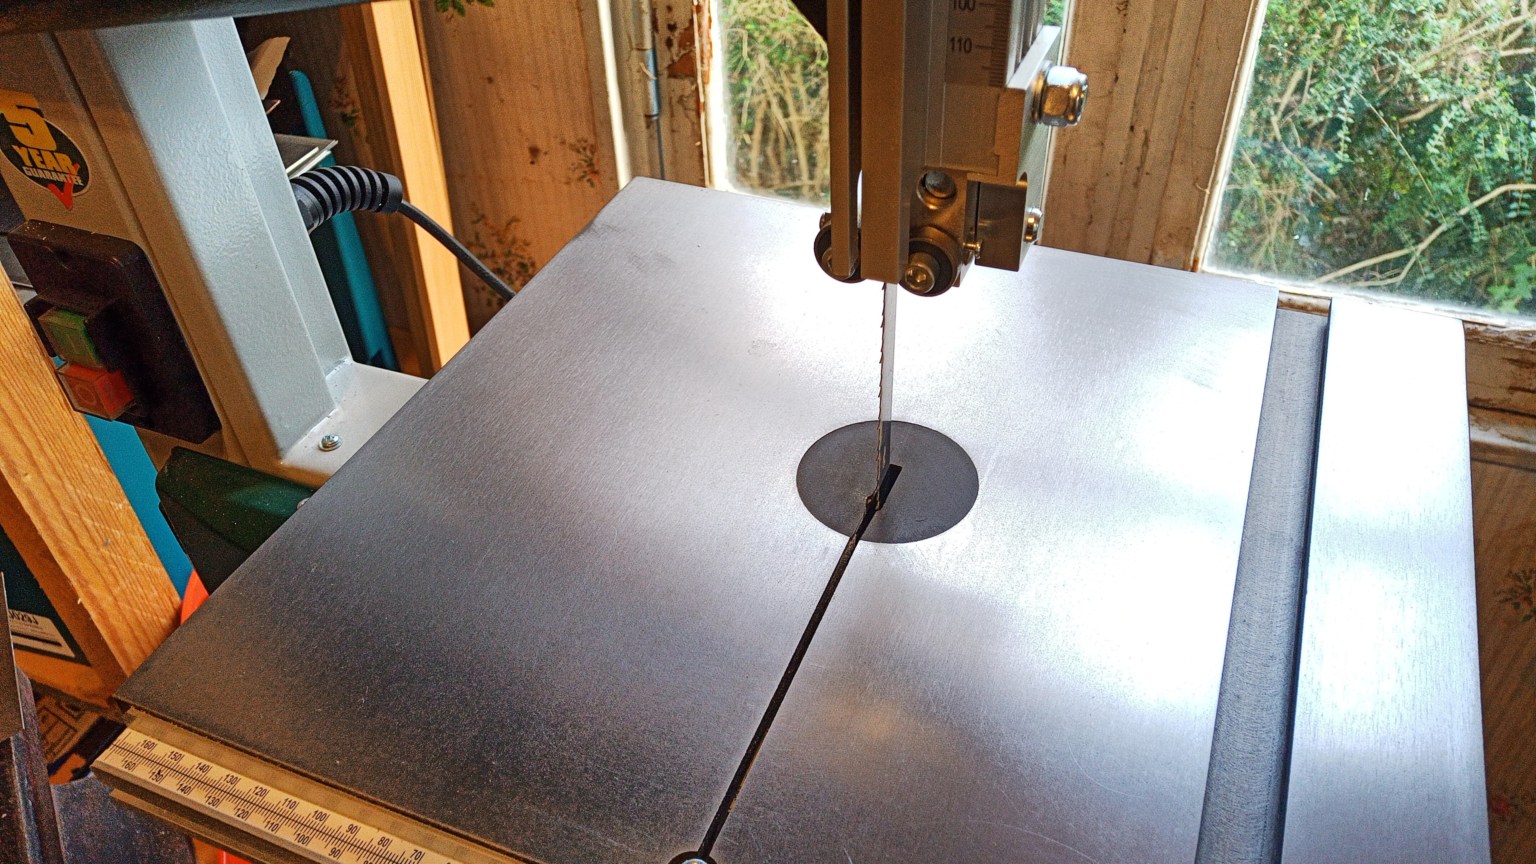
My band saw
Jointer (surface planer)
This is an extremely useful tool for woodworkers, as it enables them to obtain a flat (“planed”) reference face on a board or block of wood.
To obtain a straight board, it is generally used in conjunction with the thickness planer, which rests on the reference face and reduces the opposite face to the required thickness.
I didn’t buy one to make furniture, but to create a reference face on the pieces of wood I cut from real trees! I then use the bandsaw (with a side fence) to obtain a roughly regular block, a good base for cutting handle plates for my knives.
I chose a miniature model from Proxxon, a well-known supplier of quality model-making tools. It doesn’t take up much space, accepts blocks up to 7 cm wide, makes a hell of a noise, and is quite expensive. But it’s hard to replace, and saves me the trouble of buying calibrated blocks, which are themselves quite expensive.
And what a pleasure it is to make handles out of apple trees from the garden! This is the Proxxon AH80 (around 350€).
The DH40 thickness planer from the same brand is really overpriced, rare in second-hand shops, and I can easily do without it.
Scroll saw
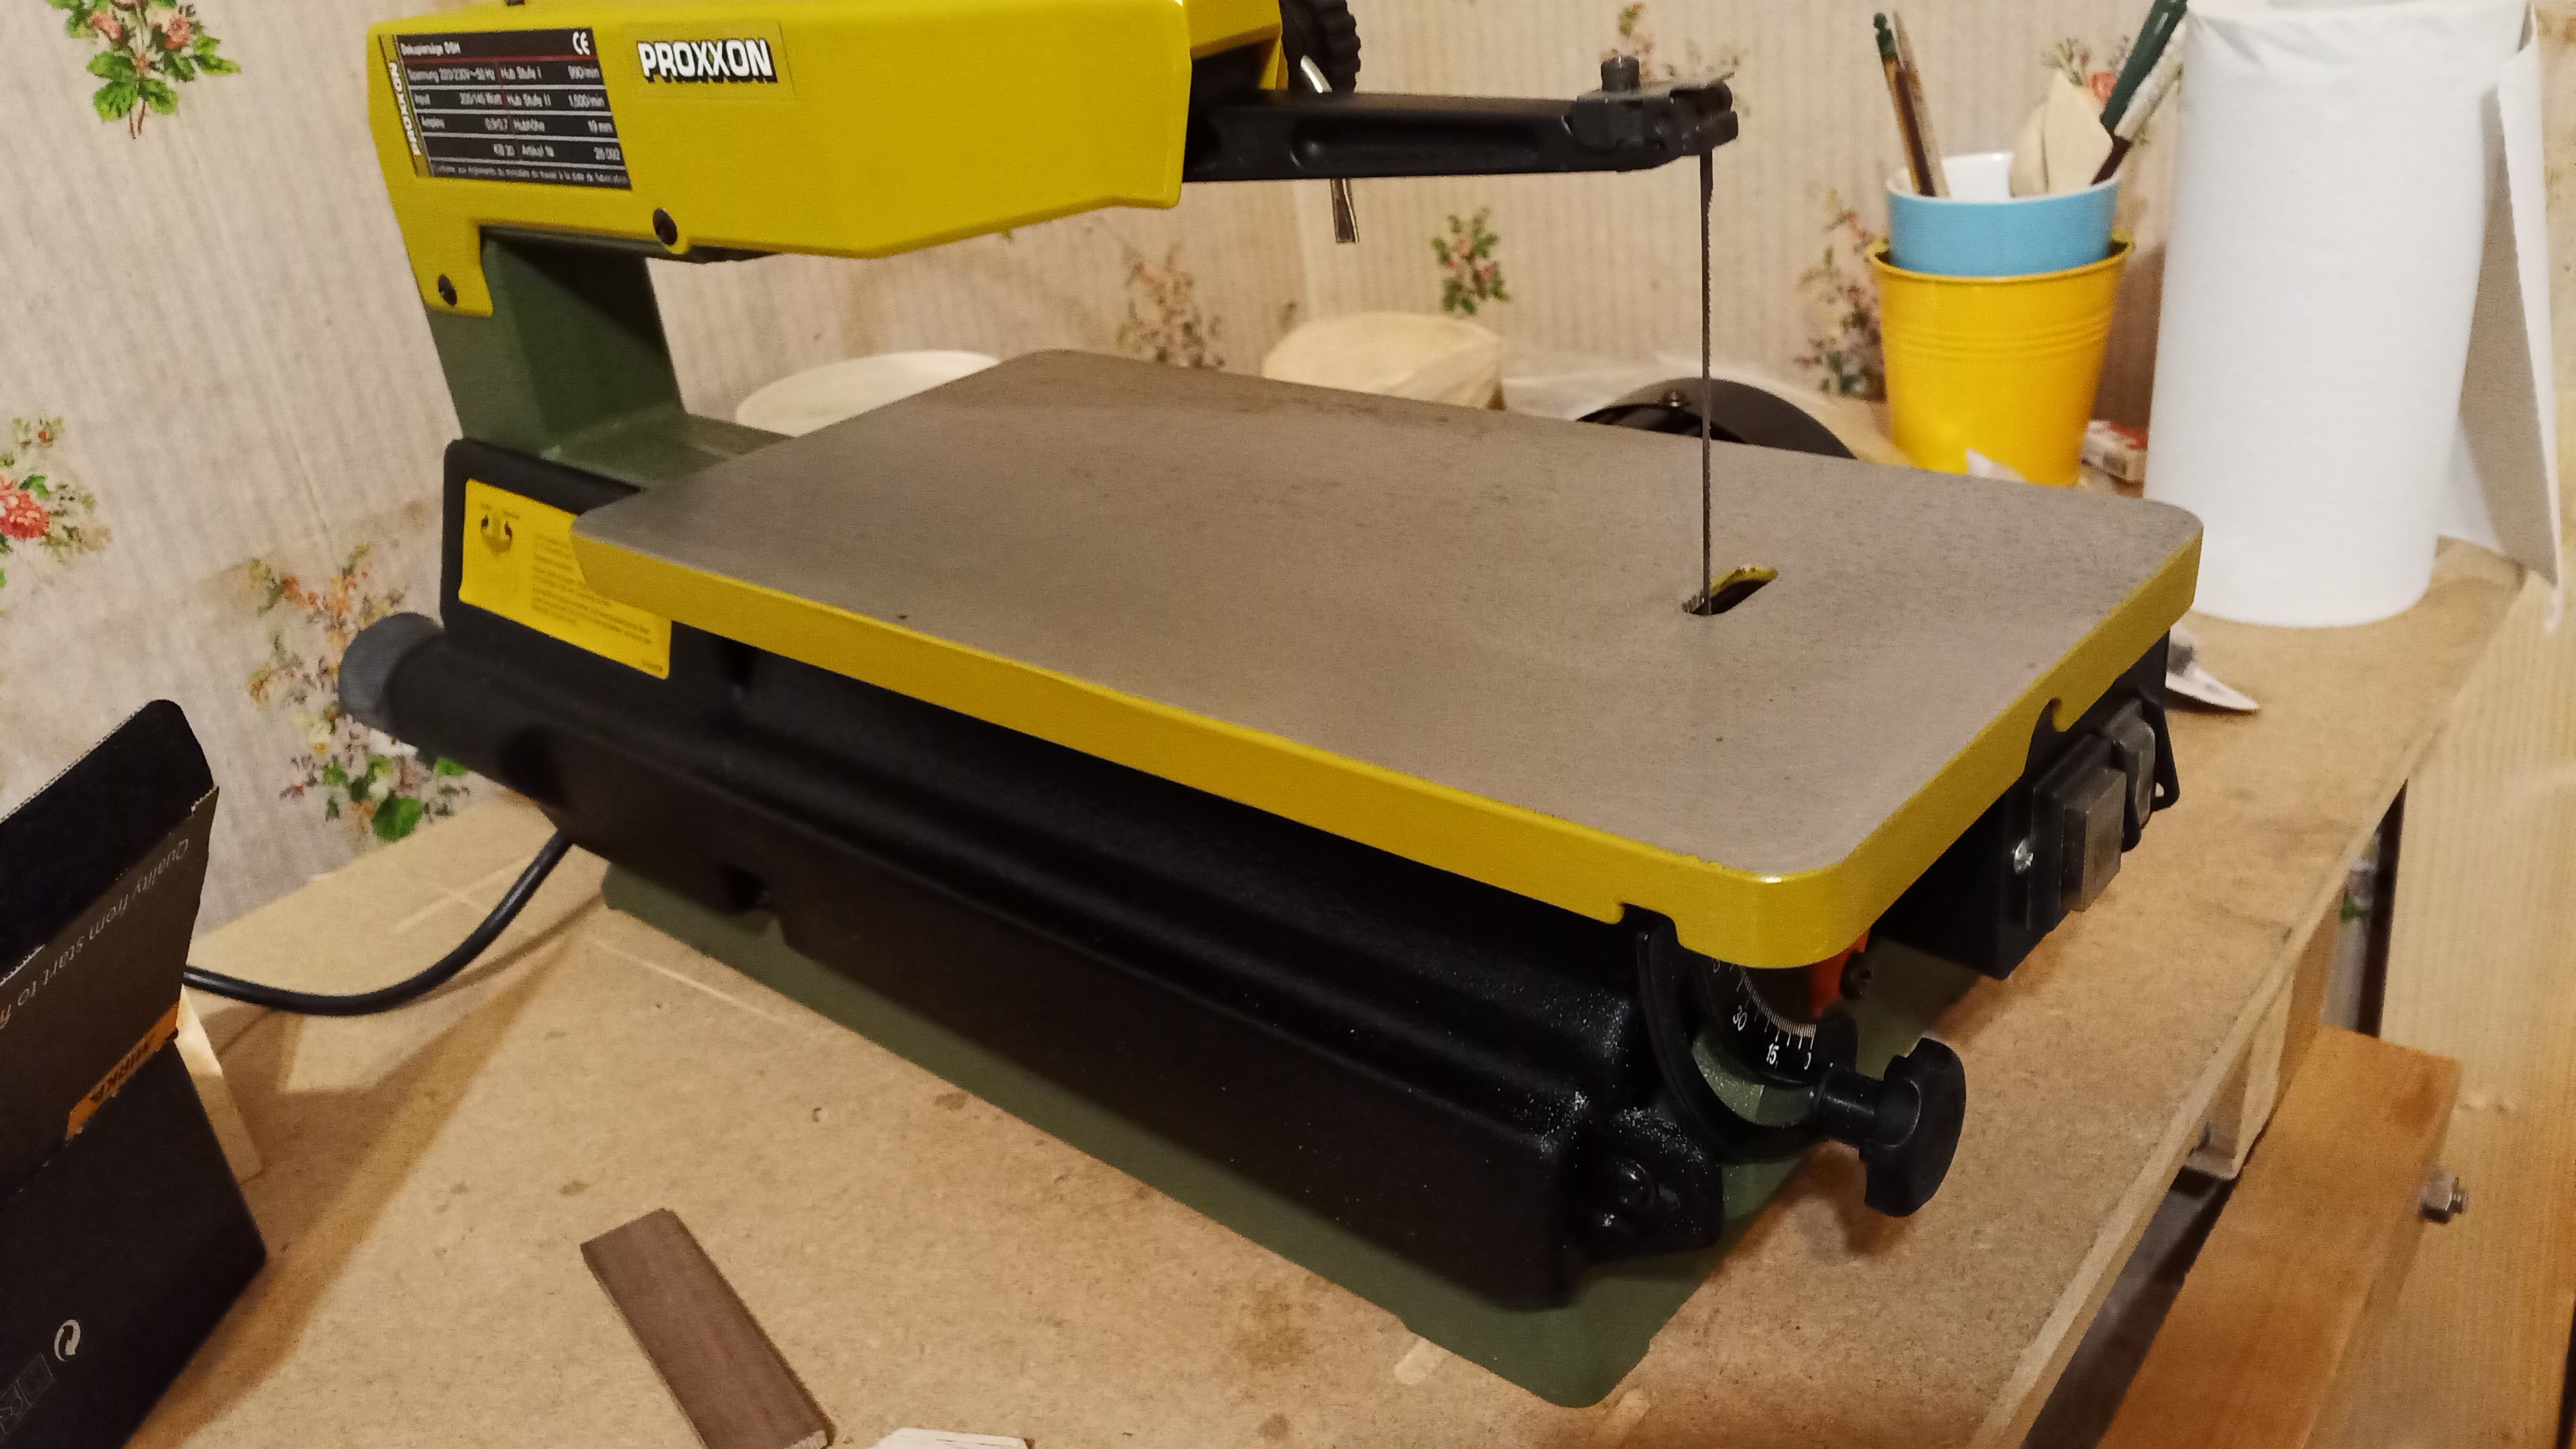
This is the “precision” version of the band saw, particularly useful for cutting the shape of handle plates. Again, it’s from Proxxon, the DSH, bought second-hand for around 100€ (its new price is a bit steep). Really good quality, effective even with a few years on the clock.
I hesitated for a long time with the entry-level DS230/E model, but the latter seemed to me to be really reserved for occasional “small” scrollwork.
Angle grinder (disc grinder)
I use it to roughly cut shapes in steel (blades, plates, springs) with a cut-off disc. An old Bosch model. It’s dangerous, is very noisy, sends glowing filings everywhere, vibrates a lot, sometimes burns steel…
That’s why I’ve recently been switching to a good old-fashioned hacksaw, except for thicker workpieces.
Hacksaw
It’s a handy hand tool, effective once you’ve got the hang of it. The noise is annoying (earmuffs welcome). To avoid injury and cut quickly, I bought a sturdy version from Facom.
I cut steel up to about 2.5cm thick, beyond that it’s a bit of a pain.
Knifemaker’s backstand
This is a must-have for knife makers, once you’ve gone beyond the trial and error stage or the occasional hobby.
The backstand is a stationary belt sander, available in various sizes (and prices).
Let’s be clear: you can make a nice knife with a file and sandpaper. But if you want to produce a certain quantity, run successive tests, improve your productivity a little without getting discouraged, this is a really great machine.
For more information, see Eurotechni’s blog (in french).
For my part, not having an unlimited budget, I chose a simple but robust 50x1220 belt model from Beltgrinders. High shipping costs, but the quality/price ratio is really interesting.
The machine costs 500€, with an optional speed regulator (rather useful) for 250€. I’m very happy with it, it’s the machine I use the most: for sanding and polishing metal, shaping wood and composite materials on occasion.
Be sure to bring an effective mask and a visor or safety goggles.
I made a partial zinc housing for it, to limit dust dispersion, and I use a stainless steel “gastronorm” inox container to collect them, easy to find second-hand.
Note that it’s not advisable to suck up filings directly, as this could set fire to your vacuum cleaner. With a delayed effect, if need be, which is even less advisable.
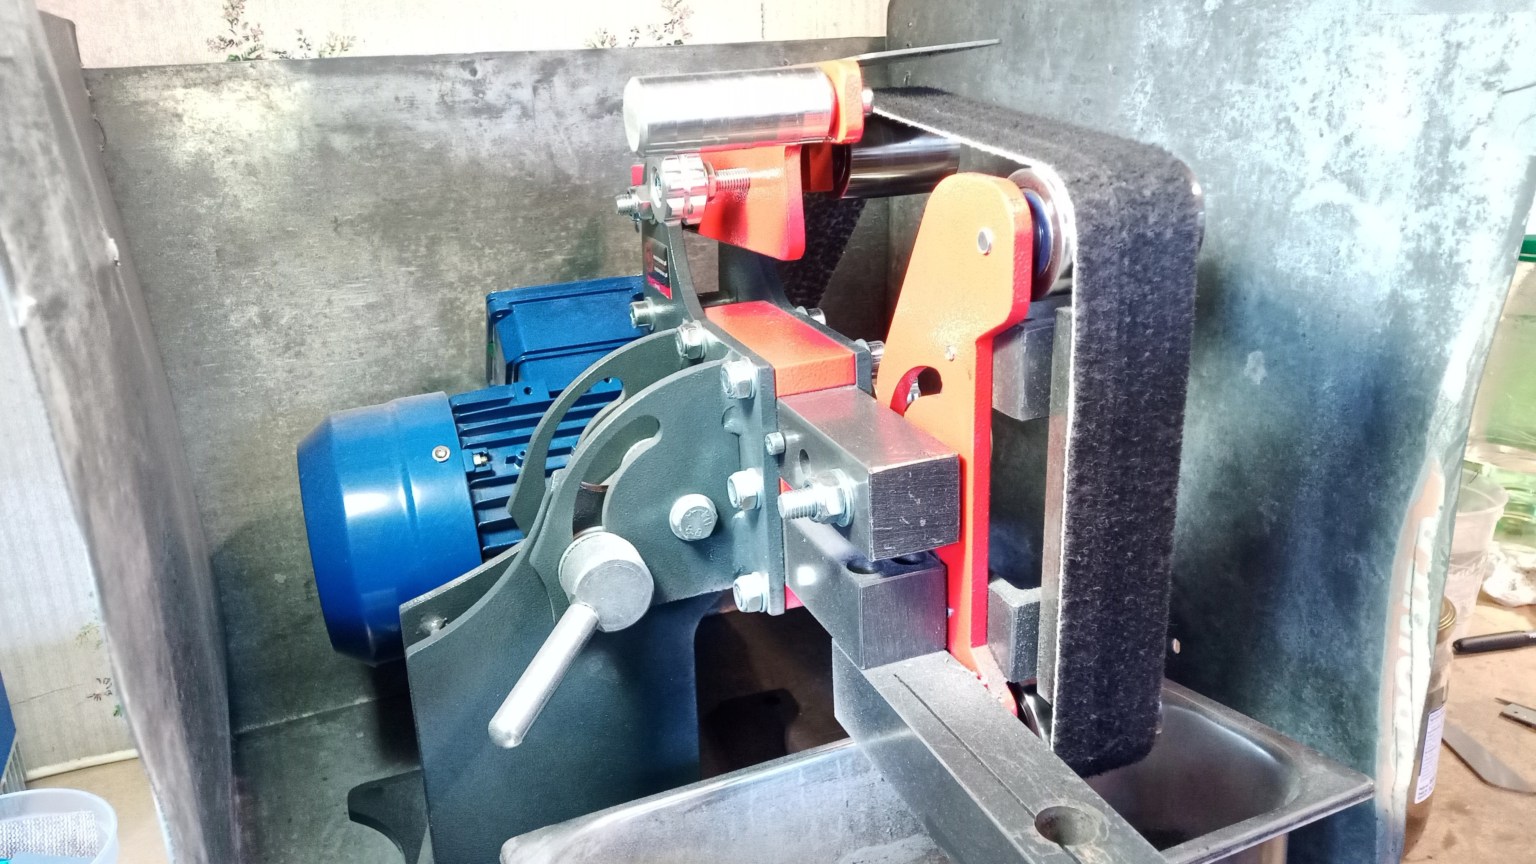
My Polish backstand
Abrasive belts
I’ll talk more about this elsewhere, but there are different kinds of belts, for example :
- abrasives for routing and sanding
- “scotch brite” for cleaning, descaling and revealing defects
- strips for polishing pastes
Hardening furnace
You’ll find plenty of tutorials on quenching carbon steel, often using refractory bricks and a blowtorch. It’s doable, but rather random. Personally, I found it frustrating. Perhaps you’ll be more patient!
A tempering furnace is expensive: minimum 800€, much more for a large or top-of-the-range model. I should point out, however, that you can at least halve the bill if you do it yourself.
Personally, I spread myself thin enough as it is, and I don’t like the idea of tinkering with heating resistors, so I “invested”.
I took advantage of the backstand order to add a hardening furnace: a Mini Hell model that can accommodate a maximum 33cm blade, with a standard thermostat.
It does the job very well for both carbon steel and stainless steel.
I also use it to enamel metal for knife making and jewelry.
Files
Files are indispensable in knife making. They can be used to cut edges, shape complex forms and roughen before sanding to remove large defects.
In the “needles” version, they are also very useful for adjusting the closing mechanisms of folders, and for guillochage (engraving recessed patterns on metal parts).
Drill press
I have a low-end Chinese model for under €100 (Fartools), which I won’t advertise: it’s barely better than nothing. It has a lot of spindle play, which causes many problems in knife making. Frankly, it’s not the price of a good drill press.
I think you should aim for 400-500€ minimum new. Second-hand drills in the same price range, such as Syderic, Precis, etc., seem to be a very good choice. You do, however, need to have the ad hoc electrical installation.
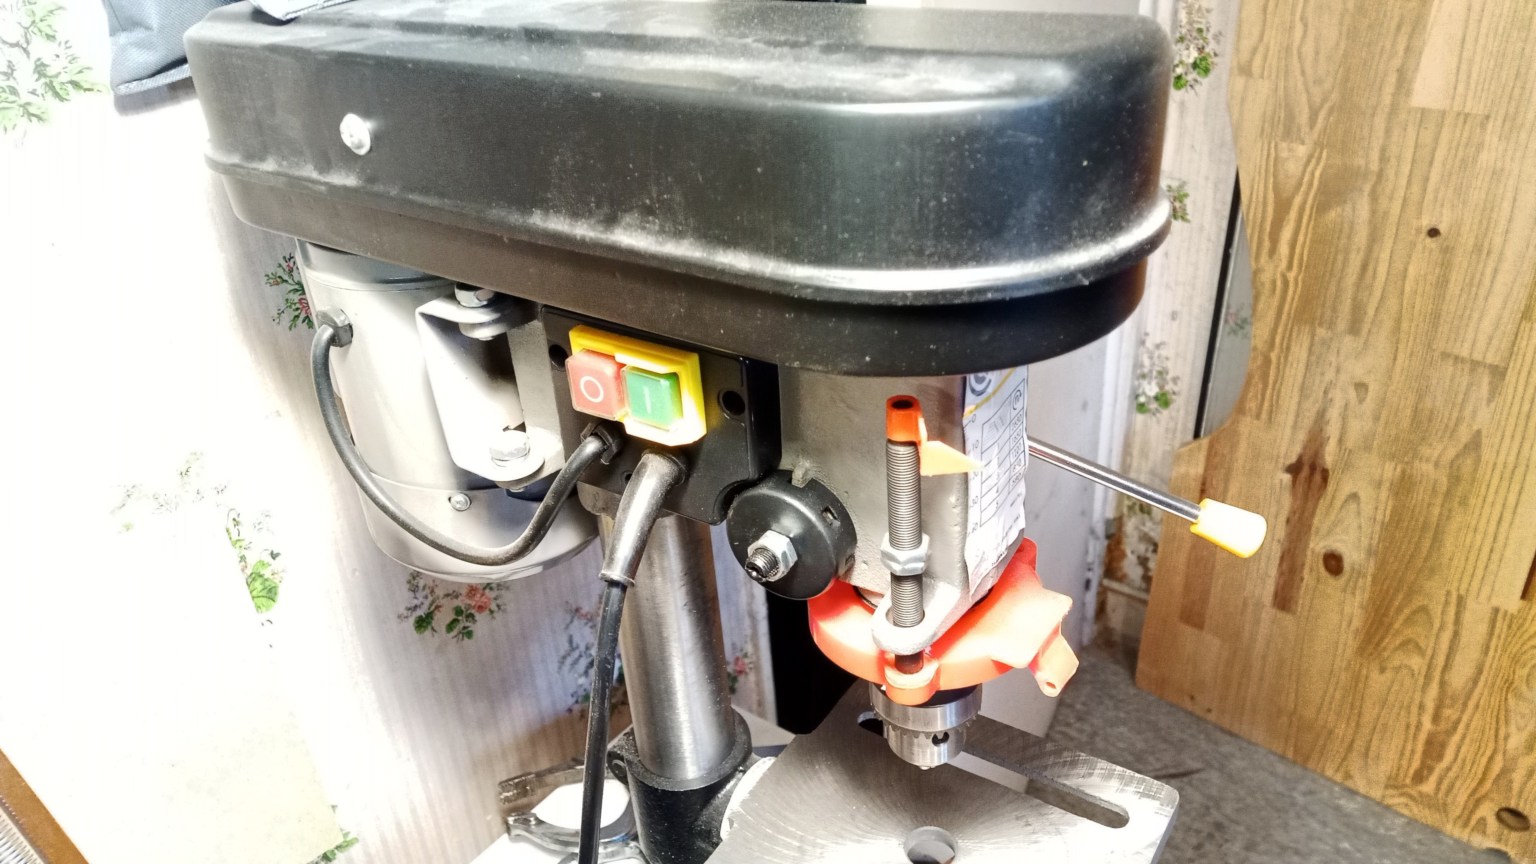
My drill press
Water cooled grinder
I have a Scheppach Tiger 3000VS, with adjustable speed. It’s certainly not as good as a Tormek, but for edge shaping, repair and coarse sharpening of all kinds of cutting objects, it does the job.
Tormek accessories are compatible, and some are indispensable (for gouges, for example). To sharpen accurately, you need the right stones (see next point).
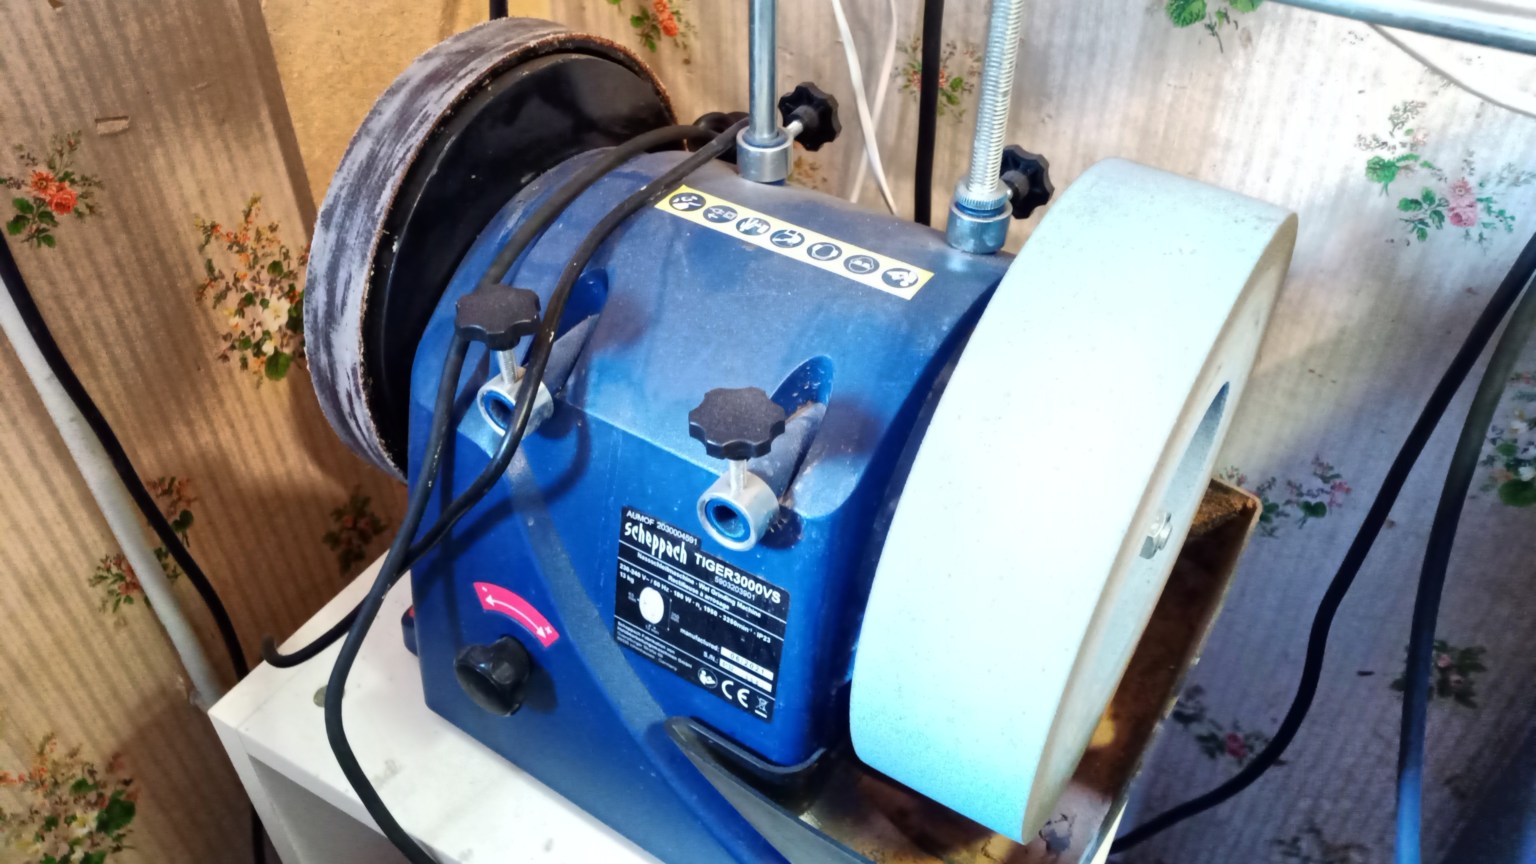
My water-cooled grinder
Sharpening stones
I recently acquired a Japanese Naniwa Chocera Pro Stone, P310, grain 1000. These water stones are expensive but they should last a hell of a lot of years, and the quality is excellent.
The 1000 grit is suitable if the blade is not chipped or badly damaged, and the result is directly usable in most cases. For very sharp knives, in the kitchen for example, you would ideally need another stone in 5000, 6000… But then you’d have to break your piggy bank!
